How to install grommets in fabric without tearing the material
Quick answer
To install grommets in fabric, reinforce the area first, mark the placement, cut a clean hole slightly smaller than the grommet barrel, insert the front grommet from the right side, add the washer on the wrong side, and compress the two parts with the correct setter, anvil, pliers or press. The tool must match the exact grommet size, and the hole should fit the barrel or post rather than the outside flange. Test the setup on a scrap stack of the same fabric thickness before working on the finished piece. If the hole is too large or the fabric is too thin, the grommet can spin, pull out or tear the material under tension.
This guide covers practical home and furniture-related fabric projects, including curtains, shower curtains, fabric organizers, cushions, canvas covers and bags. For more step-by-step home improvement articles, browse our installation guides.
What grommets do and where they work well
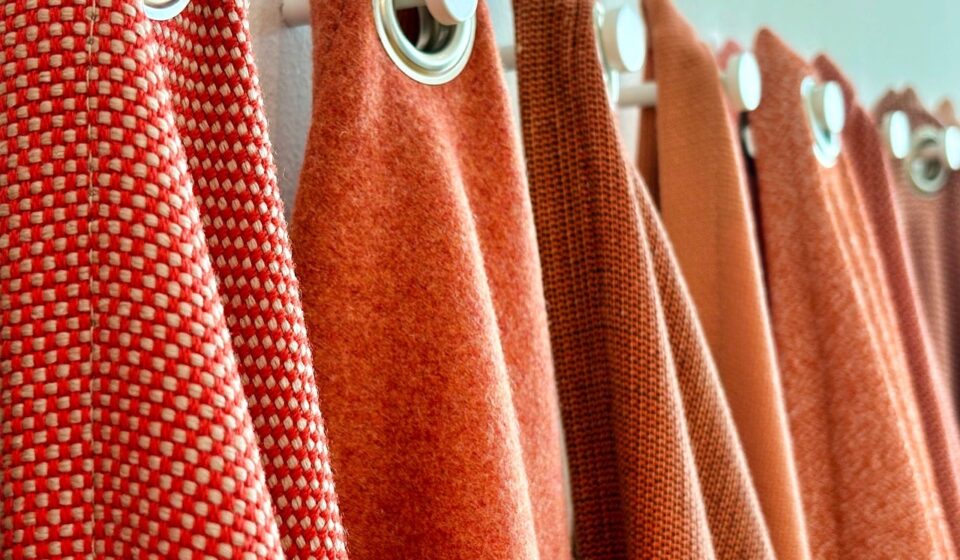
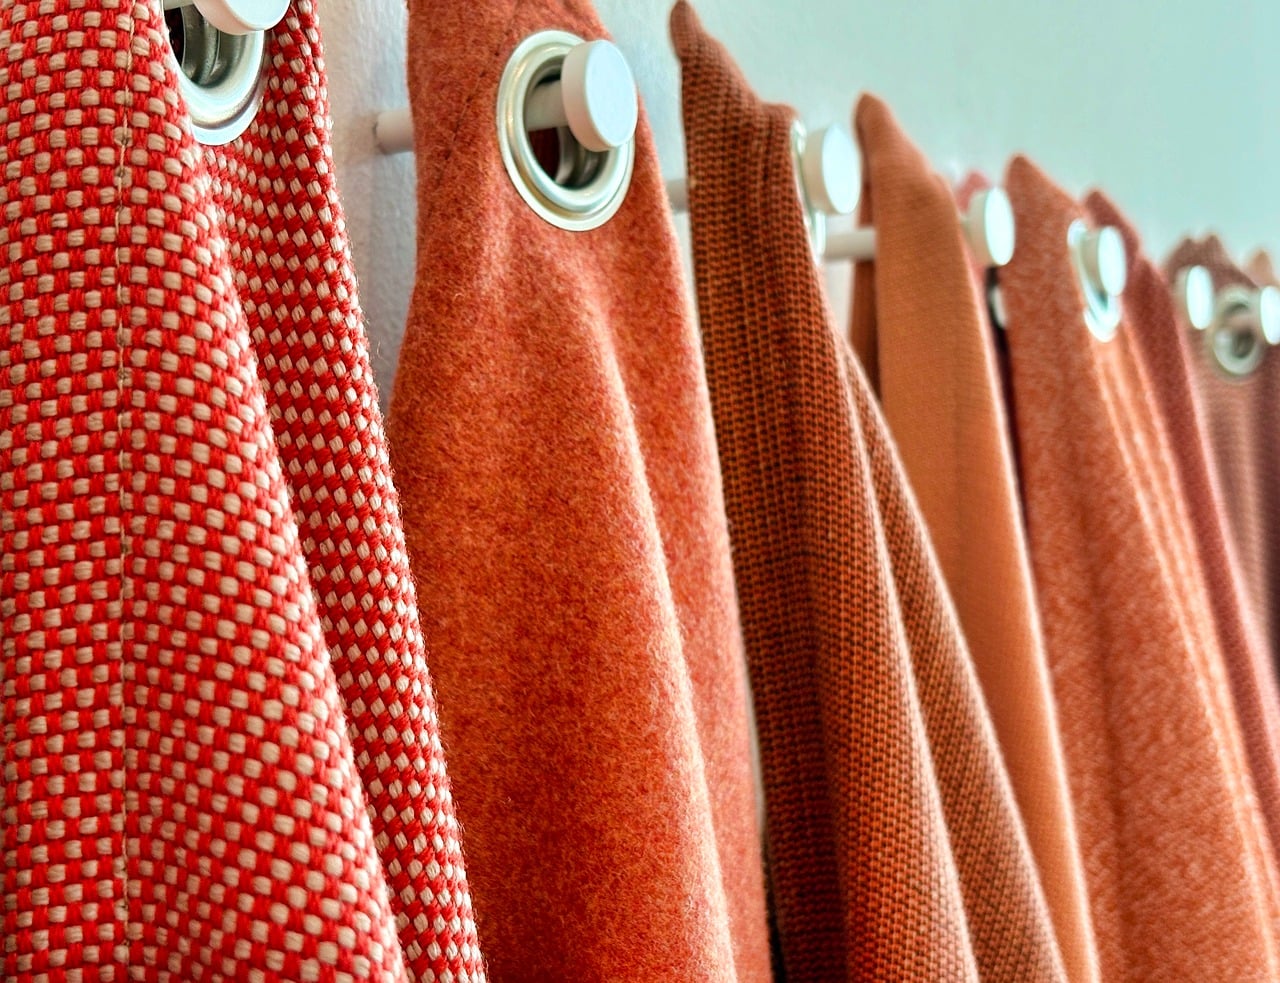
A grommet is a ring-shaped piece of hardware installed around a hole in fabric. It protects the raw edge, spreads pressure over a wider area, and creates a neat opening for rods, hooks, ties, drawcords or ventilation. Most fabric grommets are two-part pieces: a front piece with a barrel or post and a back washer that locks around it when compressed.
Grommets are useful when a plain cut hole would fray, stretch or deform in use. In home projects, they are commonly used on curtain panels, shower curtains, outdoor covers, fabric storage bins, laundry bags, cushion ties, tarps and wall organizers. Smaller hardware may be sold as eyelets, while larger hardware is often sold as grommets, but retail packaging is not always consistent. For installation, the critical details are the interior diameter, barrel depth, washer style and tool compatibility, not the label alone.
Grommets are not a cure for weak fabric. If the material cannot resist the pull placed on it, the hardware may stay intact while the surrounding cloth fails. Lightweight cotton, loose weaves, linen, thin polyester and decorative upholstery fabric usually need interfacing, extra layers or a turned hem before grommets are installed. Heavy canvas, vinyl-coated fabric and marine fabric may need heavier spur grommets or a press-style setting tool instead of a small craft kit.
Choose the right grommet, fabric support and tool
Before cutting any holes, match the grommet to the fabric and the job. The grommet size is usually the inside opening, not the total outside diameter. A 3/8-inch grommet, for example, is intended to leave an opening of about 3/8 inch after setting, while the flange around it is wider. If the opening must fit over a curtain rod, hook, rope or bungee, measure that item first and allow enough clearance for movement.
| Project type | Common fabric | Recommended support | Likely tool |
|---|---|---|---|
| Decorative curtains | Medium-weight drapery fabric | Deep top hem plus fusible interfacing or header tape | Plastic snap grommets, hand setter or pliers |
| Shower curtain | Polyester, cotton blend or waterproof fabric | Folded header or reinforcement strip | Small metal kit or snap-in grommets |
| Canvas cover | Cotton canvas, acrylic canvas or coated fabric | Folded edge, patch or webbing reinforcement | Heavy-duty setter, die set or bench press |
| Fabric bag | Canvas, denim or upholstery fabric | Interfacing, lining and local reinforcement patch | Hand setter, pliers or press |
| Outdoor tie-down point | Heavy canvas or vinyl | Multiple layers or webbing patch | Spur grommet with matching die |
Most basic kits include the grommets, an anvil and a setter. Some kits require a hammer; others use pliers. Heavier systems use a die set in a hand press or bench press. Do not mix sizes casually. A 7/16-inch grommet should be set with the correct 7/16-inch tool, and a spur grommet should be set with a die designed for spur hardware. A mismatched tool can flatten the rim unevenly, split the barrel or leave sharp edges.
For a cleaner installation, gather the full setup before starting: grommets and matching washers, the correct setter or pliers, a hard work surface, a marking pencil or tailor’s chalk, ruler or measuring tape, sharp scissors or a hole punch, scrap fabric, reinforcement material, and a small amount of fray-control liquid if the fabric ravels easily.
How to install grommets in fabric step by step
1. Reinforce the fabric before marking
Start by deciding where the stress will go. If the grommet will carry weight, hold a cord or support a hanging panel, reinforce the area before cutting. For curtains, that often means sewing a deep top hem and adding fusible interfacing inside the header. For bags and canvas projects, add a patch of the same fabric, a layer of heavy interfacing or a piece of webbing on the wrong side.
The reinforcement should extend beyond the outside edge of the grommet, not just touch the cut hole. As a practical rule, give the hardware at least 1/2 inch of supported fabric beyond the outer rim for light projects and more for heavy canvas or tension points. If the fabric is loosely woven, reinforcement is especially important because the threads can pull away from the metal under repeated use.
2. Test one grommet on a scrap
Use a scrap that matches the final fabric stack: the same outer fabric, lining, interfacing and number of layers. Set one grommet completely and inspect both sides. The front should look smooth and centered. The back should be rolled or compressed evenly around the washer. The grommet should not spin freely, rock, cut the threads or leave a sharp burr.
If the grommet is loose, add thickness with interfacing or an extra fabric layer. If the back crushes unevenly, check whether the setter is aligned vertically and whether the work surface is hard enough. If the barrel splits, the fabric stack may be too thick for that barrel depth, or the strike may be too aggressive for the hardware.
3. Mark the placement accurately
Mark the center point of every grommet before cutting any holes. For rows, measure from a fixed edge rather than moving from one previous mark to the next, which can compound small errors. On curtains, keep the marks level across the header so the panel hangs evenly. On bags or covers, keep each grommet far enough from seams and edges to reduce the risk of tearing.
If the kit instructions tell you to trace the inside of the grommet barrel, do that carefully. For some heavy spur grommets, instructions may call for a small X-shaped cut just large enough to force the barrel through the fabric. Follow the hardware manufacturer’s method, because the required hole shape depends on the grommet design and tool.
4. Cut a clean hole
Cut the smallest clean opening that allows the grommet barrel to pass through without distorting the fabric. This is where many failed installations happen. A hole that is too small can wrinkle the fabric, but a hole that is too large leaves the grommet with too little material to grip. For most home grommet kits, it is safer to cut conservatively, test the fit, and enlarge the opening in tiny amounts if needed.
Use sharp scissors, a hollow punch or the cutter supplied with the kit. Avoid jagged edges. If the fabric frays, apply a small amount of fray-control product around the cut edge and let it dry as directed before setting the hardware. Do not soak the area so heavily that it becomes stiff, stained or difficult to compress. See also: BUILDING MATERIALS.
5. Insert the front grommet from the right side
Push the barrel or post of the front grommet through the hole from the visible side of the fabric. The smooth finished flange should remain on the right side. Turn the project over and place the washer on the wrong side according to the kit instructions. Some washers have a teeth side or a raised side that must face the fabric or barrel. If there are teeth or spurs, align them correctly so they bite into the fabric as the grommet is compressed.
6. Set the grommet with controlled pressure
Place the grommet on the anvil or die. Keep the setter straight, not tilted. If using a hammer, strike firmly and squarely rather than tapping lightly many times at an angle. If using pliers, squeeze evenly until the hardware is fully seated. If using a press, use the matching die and apply steady pressure according to the tool instructions.
Check the back after setting. The barrel should curl or flare around the washer, locking the fabric between the two pieces. The front should remain smooth and not dented. If the grommet is not fully closed, set it a little more. If the fabric puckers severely, the hole may be off-center, the fabric may be too thin, or the tool may not match the hardware.
Layout rules for curtains, bags and canvas projects
Good installation is partly about hardware and partly about layout. Even a perfectly set grommet can fail if it is placed too close to an edge or seam. For lightweight decorative projects, leave enough fabric outside the grommet to support the full rim. For heavy-duty projects, use a larger margin and reinforce the edge with a folded hem, patch or binding.
For curtain panels, plan the top header first. The header must be deep enough for the grommet outside diameter plus extra fabric above and below it. Many curtain projects also use an even number of grommets so both side edges of the panel fold toward the wall when hung. This is a design convention rather than a structural rule, but it helps the panel stack more neatly.
For bags, place grommets away from bulky seams unless the seam area is deliberately reinforced. If the grommet will hold a drawcord, test the cord size through the installed opening before finishing the entire batch. For outdoor covers, place grommets where the tension is distributed evenly. If one grommet takes most of the load, the fabric around it may tear even if the remaining grommets look secure.
If grommets are part of a window covering or drapery system that uses cords, consider cord safety as part of the installation. U.S. consumer safety guidance treats accessible window-covering cords as a serious hazard for young children. In homes where children may be present, cordless window coverings are the safer choice, and dangling cords should not be created by a DIY installation.
Common mistakes and how to fix them
| Problem | Likely cause | Fix |
|---|---|---|
| Grommet spins after setting | Fabric stack is too thin, hole is too large or hardware is not fully compressed | Add reinforcement on the next grommet; replace the loose one if it cannot be tightened cleanly |
| Fabric tears around the hole | Insufficient reinforcement or placement too close to the edge | Patch the area, move the placement inward, or use a larger reinforced panel |
| Back side is sharp or split | Wrong setter, wrong washer direction or too much force | Remove and replace the grommet; verify tool size and washer orientation |
| Front looks dented | Hammer hit directly on the finished face or anvil was not seated | Use the correct anvil and keep the finished side nested in it while setting |
| Hole looks fuzzy | Dull scissors, loose weave or no edge treatment | Use a punch or sharper scissors; apply light fray control before setting |
| Grommets are uneven in a row | Marks were measured from previous marks instead of a fixed reference line | Mark all centers from the same edge and verify spacing before cutting |
Removing a bad grommet is possible, but the repair is not always invisible. Small metal grommets can sometimes be pried apart carefully from the back with pliers, but this may enlarge or damage the hole. If the fabric is valuable or highly visible, test removal on a scrap first. In many cases, the cleanest repair is to add a decorative patch or reinforcement panel and install a new grommet through all layers.
Practical tips for a cleaner finish
- Set all grommets on the same type of surface. A hard, stable surface helps the barrel roll evenly. A soft table can absorb the strike and leave the hardware half-set.
- Keep the tool vertical. Angled pressure creates one high side and one crushed side, especially on metal grommets.
- Cut after marking the whole layout. Do not cut the first hole until every center mark has been checked for spacing and alignment.
- Use the right barrel depth. Thick fabric needs a longer barrel. Thin fabric may need added layers so the hardware has something to grip.
- Match the finish to the environment. For damp areas, shower curtains or outdoor covers, choose hardware intended for moisture exposure rather than lightweight decorative metal.
- Do not rely on grommets alone for high loads. If the project will be pulled tight, add webbing, patches, folded edges or a stronger construction method.
Frequently asked questions
Do I need interfacing before installing grommets?
In most lightweight and medium-weight fabrics, yes. Interfacing or an extra fabric layer helps the grommet grip the material and reduces the chance of tearing. Heavy canvas may not need fusible interfacing, but it often benefits from a folded edge, reinforcement patch or webbing.
Should the hole be the same size as the grommet?
The hole should match the barrel or post size required by the specific hardware, not the outside rim. It should usually be just large enough for the barrel to pass through cleanly. If the hole matches the outside diameter of the grommet, it will almost certainly be too large.
Can I install grommets without a special tool?
You need some type of setting tool that matches the grommet. Basic kits often include a small setter and anvil, while heavier grommets need pliers, a die set or a press. Trying to flatten a grommet with random tools usually produces rough edges, loose hardware or damaged fabric.
What is the difference between eyelets and grommets?
In common sewing use, eyelets are often smaller and grommets are often larger or stronger, but the terms overlap in retail packaging. Look at the actual diameter, washer design, barrel depth, material and recommended tool rather than relying only on the name.
Why did my grommet pull out?
The usual causes are an oversized hole, fabric that was too thin, lack of reinforcement, placement too close to the edge, or using a grommet that was too light for the amount of tension. The fix is usually to reinforce the area and install a new grommet, not simply hammer the old one harder.